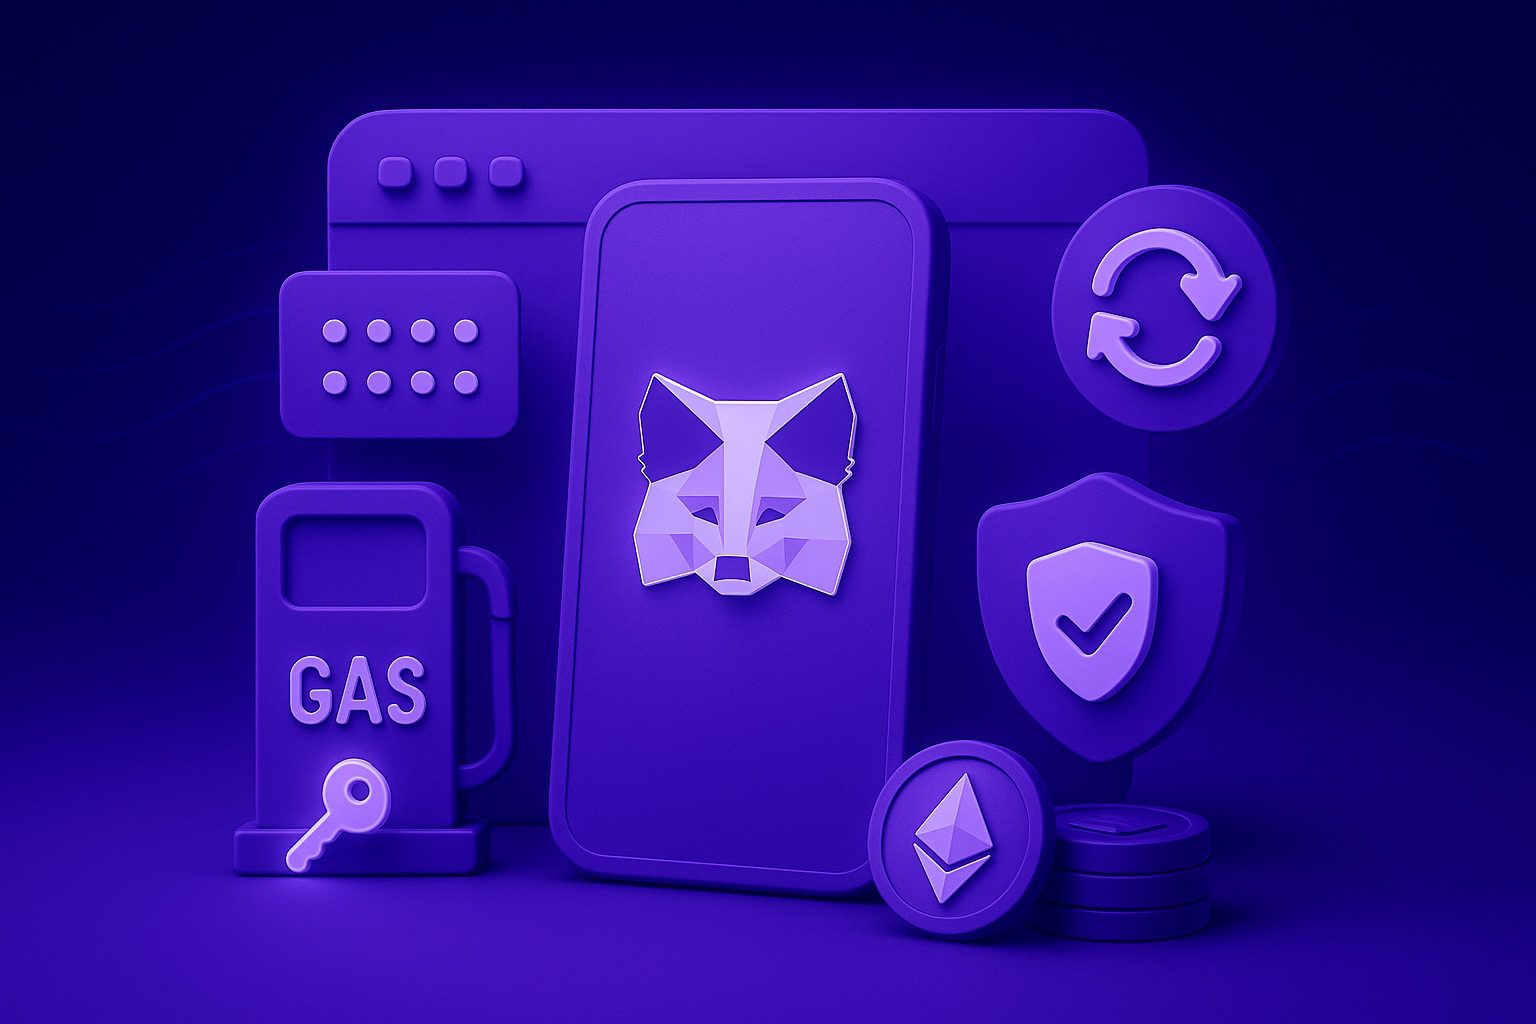
MetaMask is one of the most popular crypto wallets, available as both a browser extension and a mobile app. In other words, you can use it on desktop and on your smartphone.
Originally, MetaMask focused on Ethereum and EVM-compatible networks (BNB Chain, Polygon, Arbitrum, Avalanche, and more). Today, it goes further:
🔹 Solana is supported natively — when you create a wallet, you’ll get accounts for both Ethereum and Solana. You can hold, send, and receive SOL and SPL tokens right inside MetaMask.
🔹 Other ecosystems — such as Bitcoin, Cosmos, or Sui — can be added via MetaMask Snaps. Note: Snaps currently work only in the desktop browser extension and are not yet available on mobile.
👀 Important: MetaMask is not a “multi-coin” wallet like Trust Wallet where everything is enabled out of the box. Many blockchains need to be added manually.
MetaMask’s main strength is its simplicity and integration with thousands of Web3 services. You can connect to DEXes, DeFi protocols, NFT marketplaces, and other dApps in just a couple of clicks.
In this guide, we’ll cover how to install and set up MetaMask, how to add and withdraw funds, plus its features, pros & cons, and safety tips.
Installing and setting up MetaMask
How to install MetaMask on desktop (browser extension)
Step 1. Go to the official MetaMask website
Open the official site metamask.io and choose your browser — Chrome, Firefox, Brave, Edge, or Opera. Download only from here to avoid fake copies.
")
Step 2. Install the extension
Click «Install» → «Add Extension». Once installed, the MetaMask fox icon will appear in your browser toolbar.
")
Step 3. Create a new wallet
After installation, click the MetaMask icon in the toolbar. A welcome page will open. Click «Get Started».
")
Step 4. Accept the Terms of Use
A window with the Terms and Conditions will appear. Scroll to the bottom, tick the checkbox, and click «I Agree».
")
Step 5. Getting started
You’ll see the MetaMask fox and a button «Create a New Wallet». Click this option if you’re setting up a wallet from scratch. If you already have a Secret Recovery Phrase, select «Import Wallet».
")
Step 6. Choose how to create your wallet
MetaMask will offer several options:
- Sign in with Google or Apple
- Or use the main method — «Continue with Secret Recovery Phrase»
Choose the second option.
")
Step 7. Create a password
Create a strong password (at least 8 characters). Confirm it and click «Create Password». This password is only for logging in to the extension on your device.
")
Step 8. Save your Secret Recovery Phrase
Click to reveal the 12 words. Write them down in the correct order and store them offline. Never take photos or save them on your phone.
")
Step 9. Confirm the phrase
MetaMask will ask you to enter the words in the correct order. This is a check to make sure you saved them correctly.
")
✅ Your wallet is ready!
After confirmation, you’ll see the message «Your wallet is ready!». Now you can add networks, import tokens, and start using Web3.
")
How to install MetaMask on a smartphone (iOS & Android)
Step 1. Download MetaMask
Go to the official site metamask.io and choose the version you need, or install the app directly from the App Store (iOS) or Google Play (Android). Only install from official sources.
")
Step 2. Launch the app and click «Get Started»
After installation, the start screen will appear. Tap «Get Started». MetaMask will ask you to accept the Terms of Use — scroll to the bottom and tick the checkbox.
")
Step 3. Create a new wallet
On the next screen, select «Create a New Wallet» → «Continue with Secret Recovery Phrase».
")
Step 4. Set a password
Create a password for logging in to MetaMask on this device. This password only protects local access — your wallet can always be restored with the Secret Recovery Phrase.
")
Step 5. Get and save your Secret Recovery Phrase
MetaMask will generate a 12-word Secret Recovery Phrase. Tap «Reveal Secret Recovery Phrase» to see it. Write the words down in the exact order on paper (make several copies if possible) and keep them offline. Screenshots or saving in phone notes are not secure.
")
Step 6. Confirm the phrase
MetaMask will ask you to select the words in the correct order. This ensures you saved them properly.
")
✅ Wallet created!
You’ll now be on the main wallet screen. Here you can see your primary address and balance, as well as add new networks (e.g., BNB Smart Chain or Polygon), receive, and send tokens.
")
How to restore MetaMask with a Secret Recovery Phrase
If you change your phone, reinstall the app, or want to connect an existing wallet (not necessarily created in MetaMask but any compatible one), MetaMask has a recovery option. All you need is your Secret Recovery Phrase (12 or more words).
⚠️ Without this phrase, access cannot be restored. MetaMask does not store backups and cannot help if the words are lost.
Step 1. Tap «I already have a wallet»
On the first launch of the extension or mobile app, select the button «I already have a wallet».

Step 2. Choose a recovery method
MetaMask will offer options (Google / Apple / Secret Recovery Phrase). The most reliable and universal method is Import using Secret Recovery Phrase.

Step 3. Enter your Secret Recovery Phrase
Type all 12 words in the correct order. Be precise — even a small mistake will cause the phrase to be rejected.

Step 4. Create a new password
After confirming the phrase, MetaMask will ask you to set a new password for this device. It can be different from your previous one.

✅ Access restored!
Once you enter the Secret Recovery Phrase, MetaMask will open your wallet:
- Account 1 will appear immediately.
- Additional accounts can be added by clicking «Create New Account».
- Balances will load automatically, but you may need to re-add some tokens manually.
- Connected networks (Polygon, BNB Chain, etc.) must be reconnected.

🔎 Main screen overview in MetaMask
The MetaMask home screen is the entry point to all wallet features. Let’s go through it from top to bottom.
Top bar
Network (left) — the currently selected network: Ethereum, Solana, Base, Arbitrum, BNB, etc.
Account (center) — the account menu. You can switch, create a new one, or connect a hardware wallet.
Buttons (right):
– 📋 Copy address
– 🔔 Notifications
– 📷 QR (scan to send or show QR to receive crypto)

Four main actions:
1️⃣ Fund — add crypto: Deposit (low-fee USDC/USDT), Buy (any specific token), or Withdraw (sell to cash, where supported). Payment methods: Apple Pay, Google Pay, Visa/MasterCard, SEPA, PayPal, Revolut (availability depends on region).
2️⃣ Swap — exchange tokens or bridge between networks.
3️⃣ Send — transfer to another wallet or exchange.
4️⃣ Receive — your address and QR code to receive funds.

Assets tabs
Below the buttons, there are three tabs:
- Tokens — list of your coins. You can add new ones using «+».
- DeFi — access to yield and staking services.
- NFT — your NFTs on the selected network.
💡 Tabs show data only for the currently selected network. If you switch networks, the asset list changes.

🦊 Home — returns to the main screen (balance + buttons).
🧭 Browser (Discover) — built-in Web3 browser for dApps, DeFi, NFT.
🔄 Actions menu (↑↓) — quick access to Swap, Earn.
🕒 Activity — list of transactions.
⚙️ Settings — language, currency, networks, security, backups.

How to fund your MetaMask wallet
Method 1. Buy crypto with a card directly in the app 💳
MetaMask has a built-in Buy feature that aggregates offers from different providers (MoonPay, Transak, etc.). Crypto is credited directly to your wallet without delays.
👍 Pros:
- Everything is done directly in MetaMask — no need to search and compare providers manually.
- Fast: funds arrive straight into your wallet.
- Supports Apple Pay, Google Pay, bank cards, Revolut, PayPal, SEPA (availability depends on region and provider).
👎 Cons:
- Fees vary by provider (from 2% to 10%).
- Availability depends on your region and provider. (Some cards may not be supported.)
⚡ Tip: MetaMask lets you manually select a country. What matters is the country where your card is registered, not your physical location.
Step-by-step:
- Click «Fund» and select «Buy».
- Select the region (country where your card is registered).
- Choose the token (e.g., ETH or USDT) and network.
- Enter the amount and payment method (Visa, MasterCard, Apple Pay, etc.).
- Click «Get quotes» and select the best price.
- You’ll be redirected to the provider’s website to enter your card details.
- After payment, crypto will arrive in your MetaMask wallet.

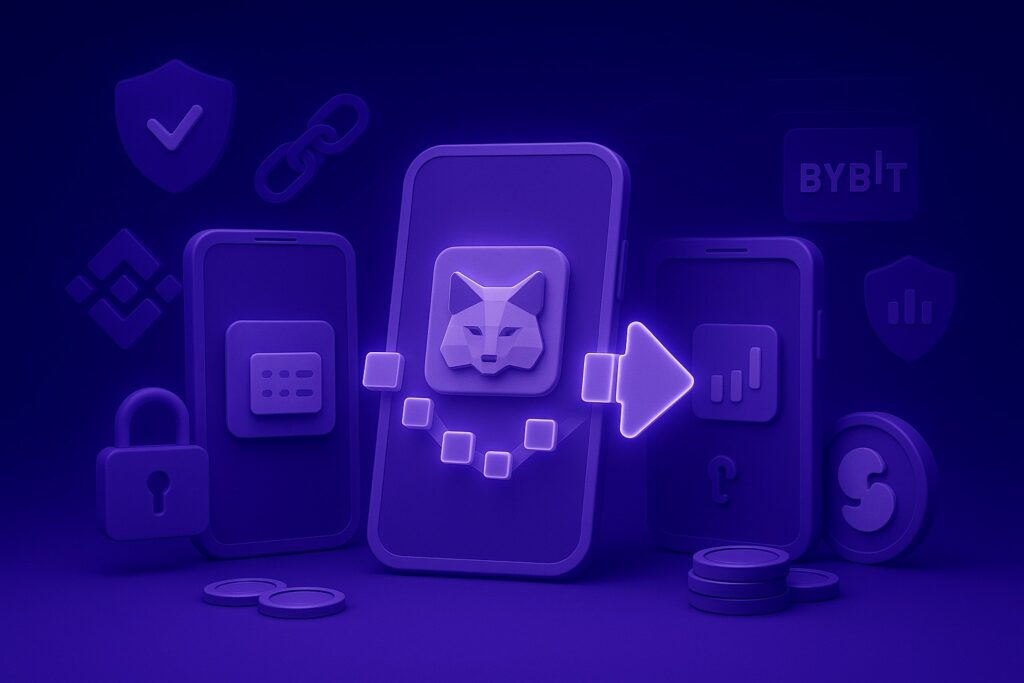
Method 2. Transfer from an exchange or another wallet 🔄
This is the classic and most common method. You buy cryptocurrency on an exchange (Binance, Coinbase, Kraken, Bybit, OKX, etc.) or transfer it from another wallet.
👍 Pros:
- The most flexible way — you can deposit any supported tokens and any amounts.
- Works in any country, without regional restrictions.
👎 Cons:
- Fees depend on the chosen network (higher on Ethereum, lower on L2 or BSC).
- Most exchanges require an account and verification (KYC).
Step-by-step:
- In MetaMask, click «Receive» and copy your wallet address.
- On the exchange or another wallet, choose «Withdraw / Send».
- Paste the address and select the same network (ERC-20, BEP-20, Polygon, etc.).
- Enter the amount and confirm the transfer.
- Funds will arrive in your MetaMask within a few minutes.
⚠️ Important: always double-check the network. If you send tokens to a different network, the funds will be lost.

How to withdraw funds from MetaMask 💸
MetaMask lets you send cryptocurrency to any external address — this could be an exchange account, another wallet you own, or a transfer to another user.
If your goal is to cash out into USD, EUR, or other fiat currencies, the easiest way is to first transfer your crypto to an exchange and then sell it there for fiat.
Step-by-step:
- Open MetaMask and click «Send».
- In the From field, select the account you want to send from. In the To field, paste the recipient’s address — for example, your exchange deposit address (Coinbase, Kraken, Binance, etc.) or another wallet.
- Make sure the selected network matches the one supported by the recipient.
- Enter the amount and check the gas fee.
- Confirm the transaction and wait for it to be processed on the blockchain.

Important tips:
- ⚠️ Always check the network: if you send tokens to an unsupported network, they cannot be recovered.
- For exchanges, always confirm which networks they support for the specific token (for example, USDT can exist as ERC-20 or BEP-20).
- Fees depend on the network: higher on Ethereum, much lower on Polygon or BNB Chain.
Gas Fees in MetaMask⛽
Every transaction in MetaMask requires paying a gas fee. This is the cost of processing the operation on the blockchain, and it is always shown in your wallet before you confirm a transaction.
What affects gas fees:
- Network — Ethereum has the highest fees, while Layer 2 networks (Arbitrum, Optimism, Base) and alternative blockchains (BNB Chain, Polygon) are often 10–100x cheaper.
- Network congestion — fees rise during peak hours and fall when activity is low.
- Type of operation — a simple transfer costs less, while interacting with DeFi protocols or NFTs may be more expensive.
Examples:
- Ethereum: $2–20 per transaction
- Arbitrum / Optimism / Base: $0.05–0.30
- Polygon, BNB Chain: <$0.1
- Solana: <$0.01
💡 Tip: To pay gas fees, you always need the native token of the network you’re using (for example, ETH for Ethereum, SOL for Solana, MATIC for Polygon, BNB for BNB Chain).
Native tokens for gas fees in popular networks
| Blockchain | Native token | Gas fees paid in |
|---|---|---|
| Ethereum | ETH | All transactions on Ethereum are paid in ETH |
| Bitcoin | BTC | All transactions on Bitcoin are paid in BTC |
| Solana | SOL | All operations are paid in SOL |
| BNB Chain (BSC) | BNB | All transactions are paid in BNB |
| Polygon | MATIC | Gas fees are paid in MATIC |
| Avalanche C-Chain | AVAX | Gas fees are paid in AVAX |
| Fantom | FTM | All transactions are paid in FTM |
| Arbitrum | ETH | Gas fees are paid in ETH (L2 on Ethereum) |
| Optimism | ETH | Same — fees are paid in ETH |
| Base | ETH | Gas fees are paid in ETH |
| zkSync | ETH | Gas fees are paid in ETH |
| Tron | TRX | Gas fees are paid in TRX |
| Cosmos Hub | ATOM | Gas fees are paid in ATOM |
| Near Protocol | NEAR | Gas fees are paid in NEAR |
| Aptos | APT | Gas fees are paid in APT |
| Sui | SUI | Gas fees are paid in SUI |
MetaMask features
Accounts in Ethereum and Solana 🦊✨
After installing MetaMask, you immediately get two wallets: one for Ethereum and one for Solana. Ethereum addresses start with “0x…”, and Solana addresses are long strings of letters and numbers.
🔄 How to switch between accounts
- In the top bar, click the profile icon.
- In the account list, select «Account 1» (Ethereum) or «Solana Account 1».
⚠️ You must send and receive crypto strictly within the selected network. ETH only works on Ethereum, and SOL only on Solana.
💡 If you don’t have a Solana wallet, add it manually: «Add account or hardware» → «Solana account».
➕ Creating additional accounts
A single wallet can hold multiple addresses. For example:
- a separate account for storage,
- an account for trading or P2P,
- a test account for new services.
To create one, select «Create new account» and choose the network: Ethereum or Solana.
📥 Importing an existing wallet
If you already have an account, you can import it into MetaMask:
- using a Secret Recovery Phrase,
- using a private key.
🔐 Connecting a hardware wallet
MetaMask supports Ledger and Trezor.
- Connect the device → choose «Hardware wallet» → your addresses will then be available directly in the app.

Additional networks (Base, Arbitrum, Polygon and others)⚙️
MetaMask supports dozens of EVM networks. These are separate blockchains with different fees and applications. For example, Base (cheap transfers), Arbitrum and Optimism (faster Ethereum transactions), Polygon (often used for NFTs).
How to add a new network:
- At the top of the wallet, click the dropdown with the current network name (default is Ethereum).
- Select the desired network from the list (for example, Base) and confirm.
⚠️ When you switch to another network, the wallet only shows assets within it. Sending and receiving is possible only inside the selected network.
💡 To save on fees, connect multiple networks: Ethereum fees are high, while Base or Polygon are very cheap.
 metamask")
In MetaMask, the Swap feature combines two options at once:
- swapping tokens within a network (for example, ETH → USDT on Ethereum),
- transferring assets between networks (for example, USDT from Ethereum to Base or Polygon).
All major blockchains are supported: Ethereum, Solana, BNB Chain, Polygon, Arbitrum, Optimism, Avalanche, zkSync, Linea, Base, and others.
How to use:
- In the wallet, click the «Swap» button.
- Select the network and token you want to exchange, and the token you want to receive.
- Enter the amount and review the quote from MetaMask.
- Confirm the swap.
⚠️ To complete the operation, you need the native gas token of the source network: ETH on Ethereum, SOL on Solana, MATIC on Polygon, etc. Without it, the transaction will fail.
💡 Swap is perfect for quick and simple trades directly in the wallet. For larger amounts, it’s often cheaper to use an exchange or a DEX directly.

Connecting to dApps with MetaMask
MetaMask lets you connect to any decentralized application: DeFi protocols, NFT marketplaces, blockchain games. This is the main way to “log in” to Web3.
Where it works:
- the built-in Discover browser in the MetaMask app (compass icon in the bottom menu);
- any dApp website that has a «Connect Wallet» button.
How to connect:
- Open the dApp site in a browser or through the Browser tab.
- Click «Connect Wallet».
- Select MetaMask → confirm account connection.
- Now the dApp can see your address and balance in the selected network, but it cannot move funds without your approval.
⚠️ Important: a dApp only gets read access and the ability to request transactions. Any transfer of funds requires separate confirmation in MetaMask.
💡 Tip: regularly check the list of connected sites. Go to: Settings → Security & Privacy → Connected sites. You can revoke access in one click.

Earn — staking and rewards
MetaMask lets you earn on your coins through the built-in Earn feature. The main option right now is Ethereum staking, but more choices are being added over time.
Staking options in MetaMask
- Pooled staking — you can stake any amount of ETH (even 0.1). Coins are combined into a shared validator pool, and you receive a share of the rewards.
- Validator staking — the classic advanced option: you need 32 ETH to run a full validator.
How to stake ETH
- In the main menu, click the ↑↓ arrows and choose «Earn».
- Enter the amount of ETH you want to stake.
- Select the type of staking (Pooled or Validator).
- Confirm the transaction in MetaMask.
Within a few minutes, your coins will be participating in staking and rewards will start accruing automatically.
⚠️ Withdrawing funds from staking can take time — it depends on Ethereum network congestion.
💡 If you don’t want to risk a large amount, start with Pooled staking — just a few dollars is enough to test the process.

Custom tokens in MetaMask
Sometimes a token does not appear automatically in your list. In that case, you can add it manually. MetaMask offers two ways: via Search or by Contract Address (Custom).
🔍 Adding a token via Search
- Open the «Tokens» tab on the main screen.
- Click the «+» button.
- Enter the token name (for example, DAI or USDC).
- Select it from the results → click «Import».
💡 Works best for popular coins on major networks.
📝 Adding a token via Custom
If the token is not found with search:
- On the Import Tokens screen, choose the Custom Token tab.
- Select the network and paste the token contract address (you can find it on the project’s official website or on CoinGecko/CMC).
- MetaMask will automatically detect the symbol and decimals.
- Confirm adding the token.
⚠️ Never use contract addresses from unverified sources. Always make sure it’s the official token, otherwise you risk a scam.
⚡ Automatic detection
In MetaMask settings, Token Detection is enabled by default — many popular tokens will show up automatically. Path: Settings → Advanced → Token Detection.
💡 Still, it’s useful to know how to add tokens manually, especially if you’re working with new projects or rare networks.

MetaMask Snaps — wallet extensions
Snaps are mini-applications that add new features to MetaMask. With them, you can connect additional blockchains, enable extra notifications, or enhance wallet security.
⚠️ Snaps work only in the MetaMask desktop extension (Chrome, Firefox, Brave, Opera, Edge). They are not yet available in the mobile app (iOS and Android).
What you can do with Snaps:
- Connect not only Ethereum networks but also other blockchains: Bitcoin, Cosmos, Sui, etc.
- Get warnings before suspicious transactions.
- Enable notifications about network events or airdrops.
- Add analytics and advanced features directly into the wallet.
💡 Snaps turn MetaMask from a regular Ethereum wallet into a true multi-blockchain tool.
How to install a Snap:
- Go to the official Snaps directory or a dApp site that offers a Snap.
- Click «Install Snap» / «Add to MetaMask».
- Review the permissions requested by the Snap.
- Confirm → the extension will appear in your wallet.
Management and security
⚠️ Snaps are made by third-party developers. Even if a Snap is listed in the directory, it is not «manually approved» by MetaMask. Only install Snaps you trust.
💡 You can disable a Snap anytime:
Settings → Snaps → select → Remove.

➕ Additional features in MetaMask
Besides the core functions, MetaMask has a few useful options and details worth knowing.
Key settings
In the Settings section, you can find important features:
- Connected sites — a list of dApps you’ve granted access to. You can revoke access anytime.
- Token Detection — automatic detection of tokens (so you don’t need to add them manually).
- Privacy mode — hides your address from websites until you explicitly approve the connection.
- Notifications — configure push alerts for transactions.
💡 Tip: regularly review the list of connected sites and keep phishing protection enabled.
MetaMask Card
MetaMask is testing its own card that lets you spend crypto like regular money.
- Currently available in the US and UK only.
- The card is linked to your wallet and converts crypto to fiat at the time of payment.
Buy, Deposit, and Sell — what’s the difference
- Buy — an aggregator where you can choose a provider (MoonPay, Banxa, Transak, etc.) and purchase almost any token with fiat. Available in 180+ countries.
- Deposit — low-fee option for adding selected assets (USDC, USDT). On mobile, this button links directly to Transak (KYC required, not available in all regions).
- Sell — convert crypto into fiat (card or PayPal). Works only in the US, UK, and partially in Europe.
Payment methods: Apple Pay, Google Pay, Visa/MasterCard, SEPA, PayPal, Revolut (availability depends on region).
⚠️ If these options are not available in your region, the easiest way is to buy/sell crypto through an exchange and then transfer it to MetaMask.
Speeding up and canceling transactions
If a transaction is stuck in Pending status:
- Speed Up — resends it with a higher gas fee to confirm faster.
- Cancel — sends an empty transaction with a higher gas fee to cancel the previous one.
⚠️ Works only while the original transaction has not yet been confirmed by the network.
Integration with hardware wallets
MetaMask can be connected with Ledger or Trezor. In this case, the keys remain stored on the device, and MetaMask is used only as an interface. This is the most secure option for large amounts.
MetaMask Portfolio (web version)
The service portfolio.metamask.io shows all your assets across different networks in one interface. Through it, you can manage multiple accounts, staking, and use built-in bridges to transfer tokens between networks.
Pros of MetaMask ✅
- De facto Web3 standard — supported by almost every dApp. For beginners, this means: if a service has a «Connect Wallet» button, in 99% of cases MetaMask will work.
- Unified access to Ethereum + Solana — MetaMask was one of the first major wallets to combine these ecosystems, while most apps keep them separate.
- Snaps = real multichain — the official way to extend functionality and add new networks (including Bitcoin). Competitors either have closed architectures or workarounds.
- Backed by ConsenSys — this is not a «garage project». MetaMask has strong infrastructure and integrations (Infura, Linea, enterprise solutions). For users, this means reliability and fast adoption of new technologies.
- Fiat inside the wallet — ability to buy crypto with card, Apple Pay, PayPal without using an exchange. For many beginners this is simpler and faster than figuring out exchanges.
- Direct hardware wallet integration — Ledger and Trezor connect seamlessly.
Cons of MetaMask ⚠️
- Fiat features limited by region — in some countries buying crypto isn’t always available, and selling is often impossible. For the US and Europe this is convenient, but in other regions half the features simply don’t work.
- Snaps are desktop-only — the mobile app remains limited. Most beginners start from mobile → they lose part of the functionality.
- Ethereum-centric — the main focus is on ETH and EVM networks. Yes, Solana is supported, but Bitcoin and Cosmos require third-party Snaps → inconvenient for mainstream users.
- Phishing and scam tokens — because of MetaMask’s popularity, fake extensions and junk tokens appear often. Without experience, it’s easy to fall for them.
- No built-in Layer 2 off-ramp — you can move funds into ETH L2 networks, but cashing out to fiat directly from MetaMask is almost always impossible.
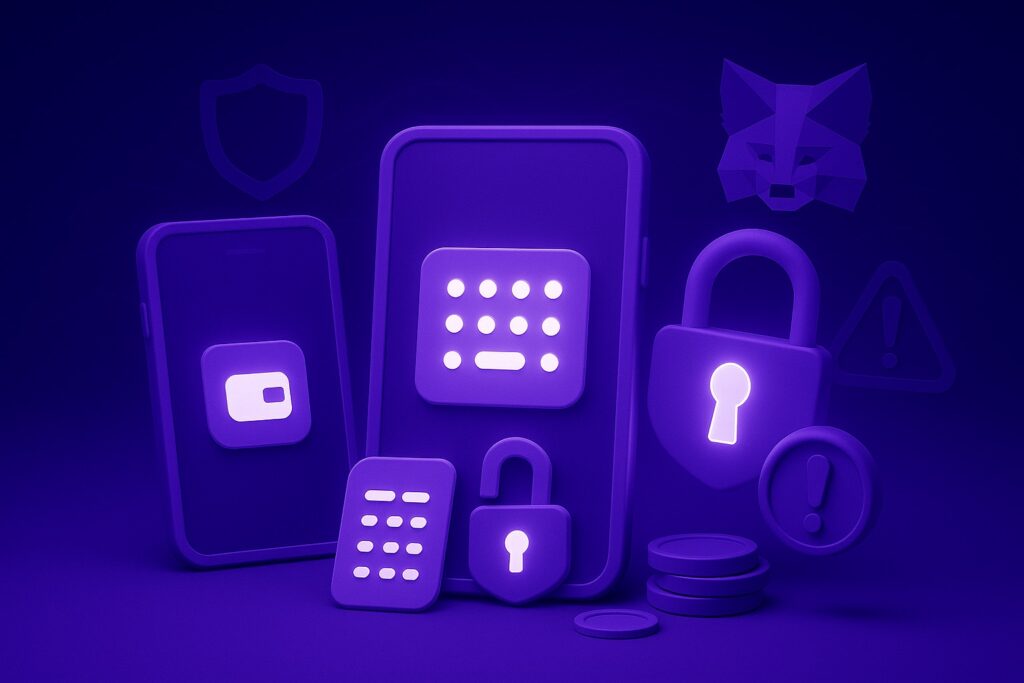
🛡️ Security when using MetaMask
MetaMask is a non-custodial wallet. This means that only you store the keys and are responsible for keeping your funds safe. That’s why it’s important to follow basic security rules.
Seed phrase
- When creating a wallet, you get a 12-word seed phrase.
- Keep it strictly offline: write it down on paper and store it in a safe place.
- ⚠️ Never take photos or store it in the cloud or on your phone.
- Never share your seed phrase — MetaMask or support will never ask for it.
Connected sites
- Each time you connect your wallet to a dApp, the site gets access to your address.
- Check the list of connected sites:
Settings → Security & Privacy → Connected sites.
💡 Remove access for sites you no longer use.
Phishing and fakes
- Only use official dApp links (check the domain).
- ⚠️ Many MetaMask clones exist online. Install the app only from the official website or App Store/Google Play.
- If you receive an email claiming to be MetaMask support asking for your seed phrase — it’s a scam.
Account separation
Use separate accounts for different purposes:
- one for storage,
- another for testing and connecting to new services.
💡 This reduces the risk of losing everything if one account gets compromised.
Hardware wallets
- For large amounts, use Ledger or Trezor together with MetaMask.
- Keys stay on the device, while MetaMask serves only as the interface.
General tips
- Keep MetaMask updated to the latest version.
- Always leave a small amount of the native token for gas fees.
- Avoid using public Wi-Fi for transactions.
FAQ — Frequently Asked Questions
Can I transfer MetaMask to another phone?
Yes. Install the app on the new device and restore the wallet using your seed phrase. All accounts will be restored automatically.
Does MetaMask work without the internet?
No. You can open the app, but balances and transactions will only update when connected to the network.
Does MetaMask support Bitcoin?
Natively, no. But through Snaps you can enable support for Bitcoin and some other non-EVM networks.
Why don’t I see my token in the wallet?
MetaMask doesn’t always display all assets automatically. Add the token manually:
- Via Search (by name),
- or via Custom Token (contract address).
What if a transaction is stuck?
MetaMask has «Speed Up» and «Cancel» options (visible in transaction history). You need to resend it with a higher gas fee.
What if I accidentally sent tokens to the wrong network?
Such transfers are irreversible. If you send tokens to the wrong address or an unsupported network, they cannot be recovered. Always double-check the network and address before sending.
Can I store large amounts in MetaMask?
Technically yes, but it’s safer to use MetaMask together with a hardware wallet (Ledger, Trezor). This is the best option for large amounts.
Conclusion
MetaMask remains one of the most convenient and versatile wallets for working with cryptocurrencies and Web3. It is suitable both for beginners and for those already familiar with DeFi and NFTs.
Yes, MetaMask has its limitations: fiat operations depend on the country, Ethereum fees can be high, and some features are desktop-only. But the wallet keeps evolving: support for Solana, Snaps, Portfolio, and Earn make it far more powerful than just an “ETH extension.”
💡 If you’re looking for a reliable tool to get started with cryptocurrency and Web3, MetaMask is one of the best options. The key is to stay safe and always store your seed phrase in a secure place.


Tһanks fоr finally talking about > MetaMask: How to Install and Set Up a Wallet in 2026 digital banking
W artykule dostrzegam nie tylko głęboką wiedzę, ale także zdolność do przekazywania jej w sposób, który sprawia, że nawet najbardziej skomplikowane idee stają się zrozumiałe i dostępne.